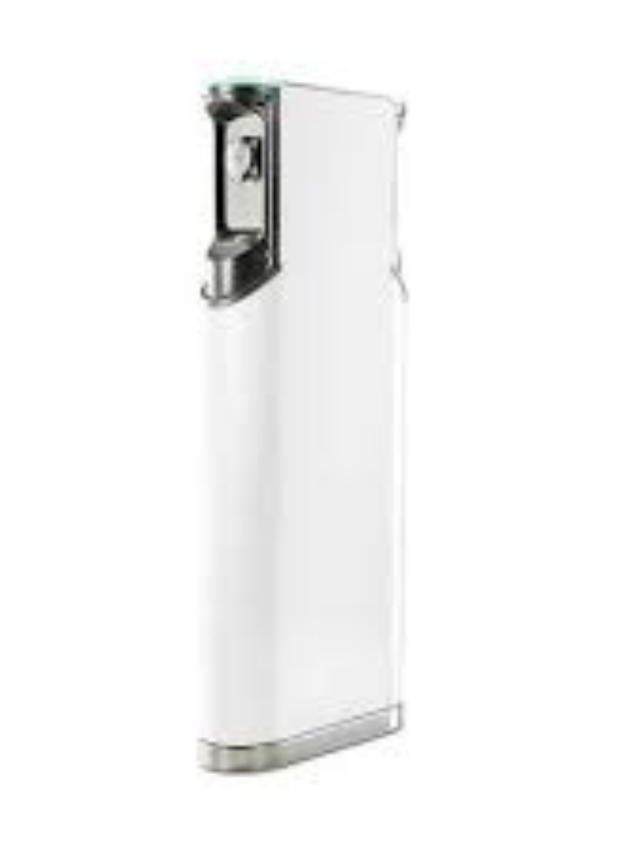
Connect Ensto to KotiCharge
Follow these detailed instructions to connect your Ensto charging station to the KotiCharge backend platform via its configuration portal.
Establish a local connection
First, ensure your Ensto charger is connected to your local network via an Ethernet cable, Wi-Fi, or the built-in 4G/GSM modem.
Connect your laptop directly to the charger. You can do this via the local network connection, or by connecting a USB cable directly to the charger's internal micro-USB service port (typically located inside the hatch or front cover).
Access the Configuration Portal
Open a web browser (e.g., Google Chrome or Firefox) and enter the local IP address or default Ensto URL into the address bar (e.g., http://192.168.123.123/operator).
Log in using your operator credentials.
Note: Ensto chargers that use the Bender Controller typically have a default username of operator and password of yellow_zone.
Configure OCPP Settings
Navigate to the OCPP or Data Connection tab in the portal.
- Select your preferred communication profile (e.g., OCPP-J 1.6 WebSocket JSON).
- Paste the KotiCharge server address into the CSMS URL field:
wss://ocpp.koticharge.link/ - Enter the unique Charge Point ID (or OCPP ID). Ensure there are no spaces or special characters in the ID.
Save and Restart
Save your settings and click Restart to apply the changes.
Allow the charger a few minutes to boot up and establish a WebSocket connection with the KotiCharge backend server.
Call KotiCharge for Testing
Call KotiCharge to inform us of your charger's ID so we can activate it in our system and perform a charging test.
Charger setup is only complete once the charging test has been performed successfully. Please do not leave the site before that.