KotiCharge app user manual
Everything you need to know to use the KotiCharge app — from registration and payment to starting a charging session, scheduling, and understanding your charging price.
1 Getting Started
- Download the KotiCharge app from the App Store or Google Play.
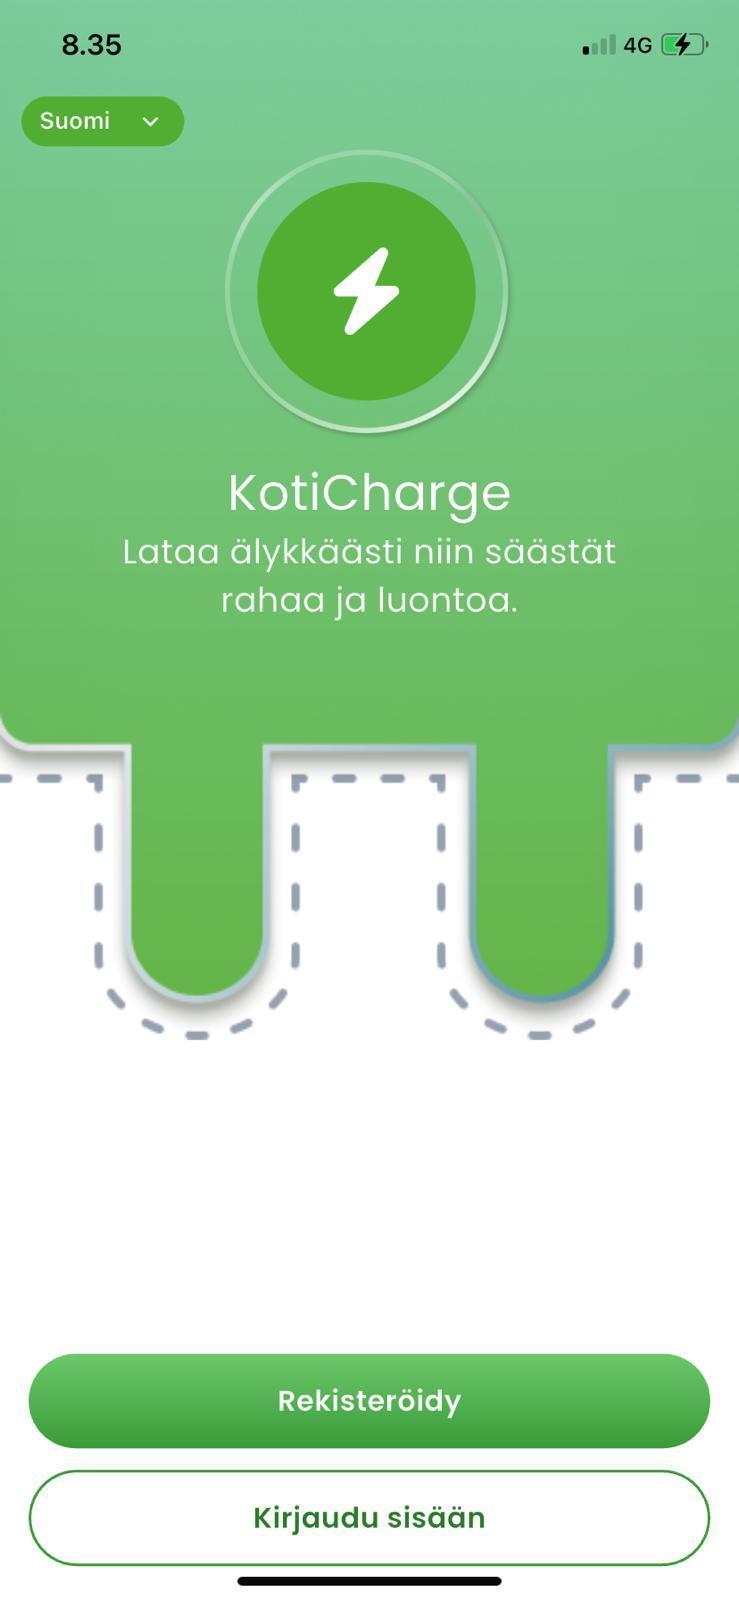
- Register as a new user and follow the on-screen instructions.
- Your account is verified by SMS — enter the code you receive during registration.
- Already have an account? Choose "Log in" instead.
2 Add a Payment Card
Set up for employee reimbursement? You don't need a payment card — the app will not ask for one.
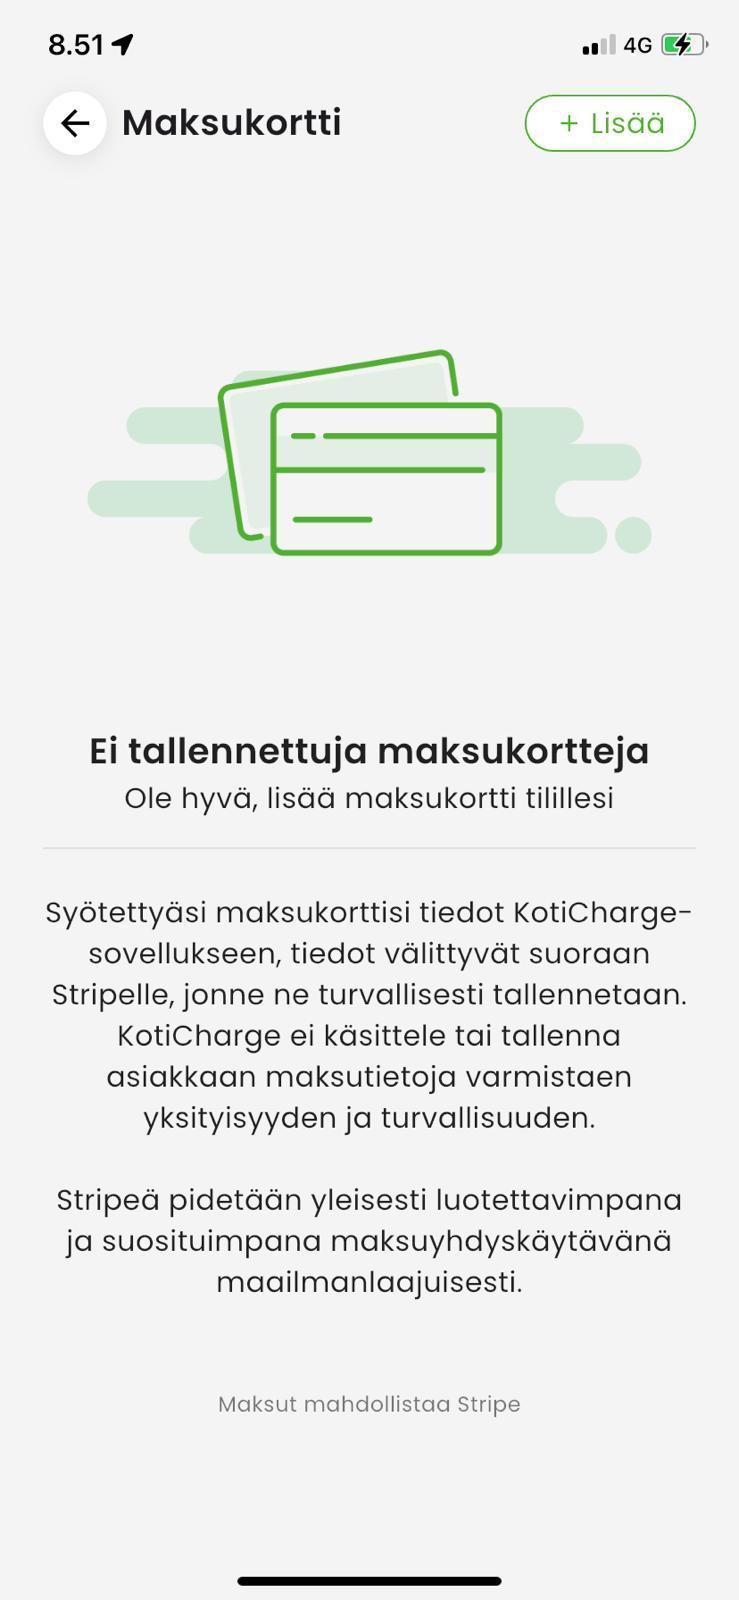
- Charging sessions are paid using the payment card linked to your account.
- The app asks you to add a card the first time you log in.
- You can add or update your card anytime from Profile → Payment Cards.
Your card details are sent directly and securely to Stripe, our payment processor. KotiCharge never handles or stores your card details.
3 Select a Charging Location
Already a member of a private group? That group's location is selected on the map automatically — you can skip this step.
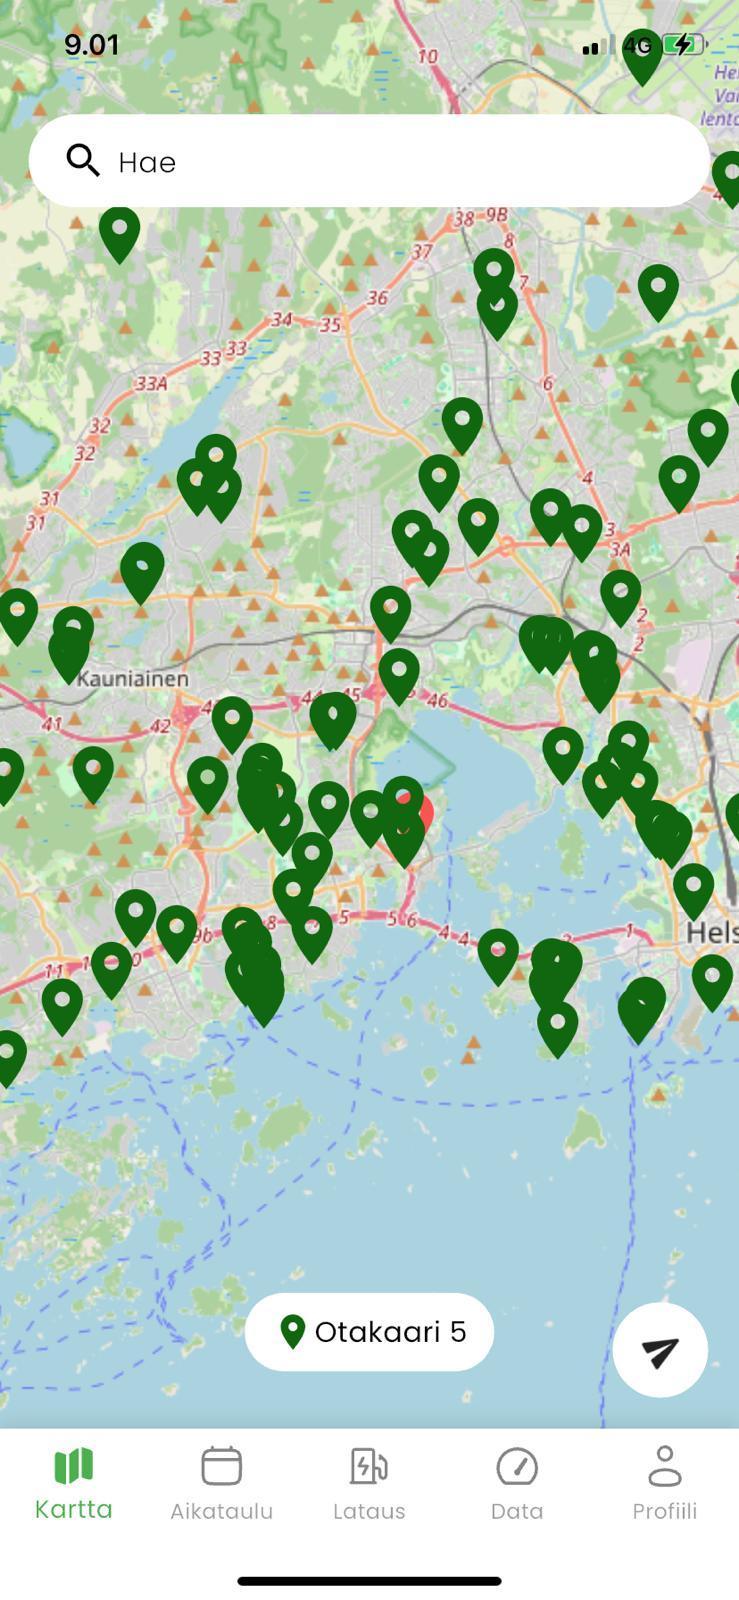
- Choose the correct location from the map view in the app.
- Tap the arrow icon in the bottom-right corner to let the app find your location automatically.
- If your housing company or workplace joined KotiCharge within about the last month, you can see the chargers right away by tapping the "Charger" tab.
4 Join a Group (Housing Companies & Business Premises)
Can you already see the charger list? That means the location is public, or you already have access to the group — skip this step.
- Click on "Charger" tab.
- If the group is not open, the app shows a notice that the group is private. Tap "Request access".
- Tap "Add" and search for the correct group by address or by the name of your housing company or business.
- Send the access request.
- Requests are normally approved on business days within about one day.
- You'll receive an email confirmation once your request is approved.
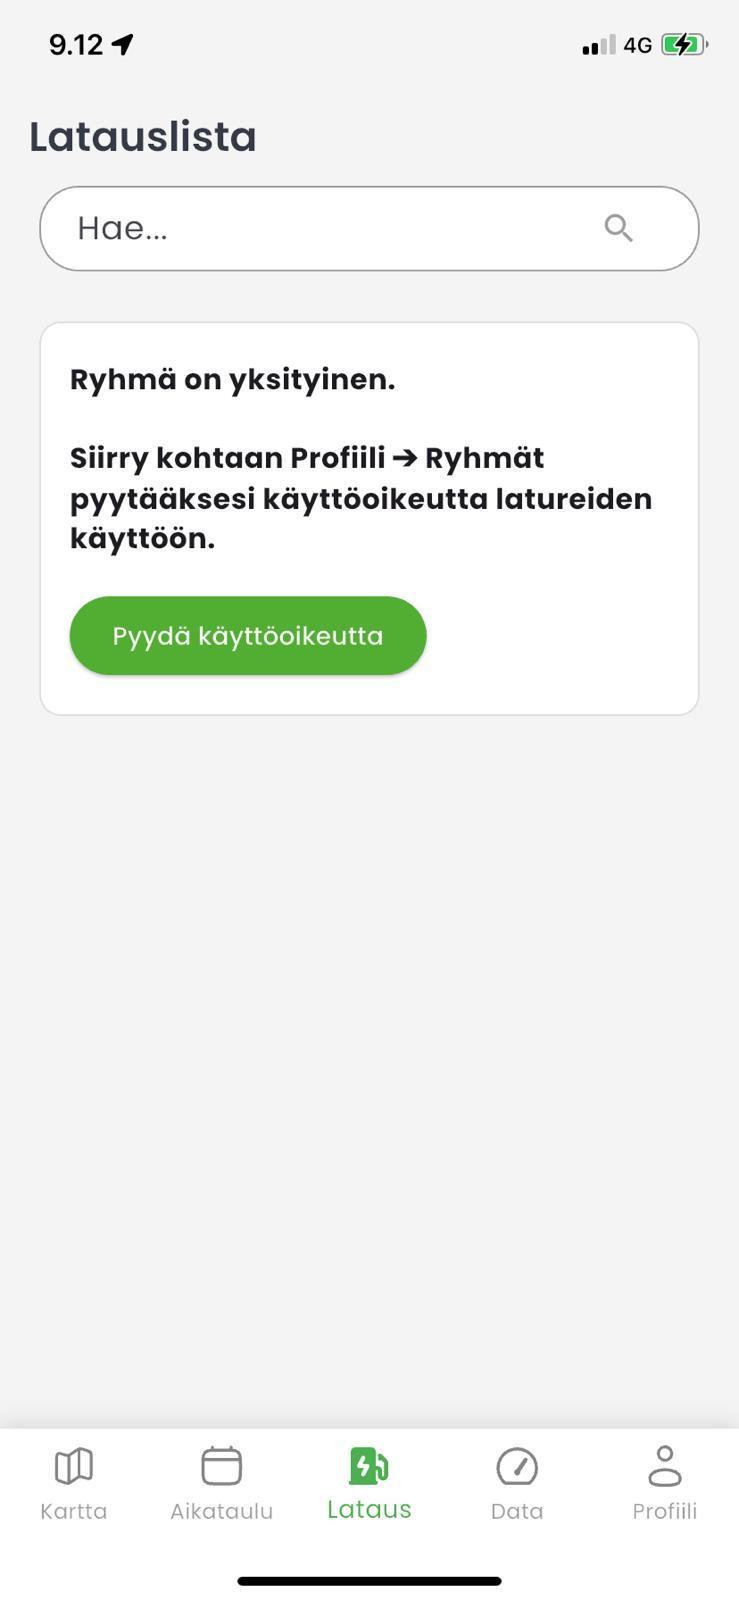
Charging at home for employee reimbursement?
Home chargers work differently. You are automatically placed in your own private group — there is no need to request access. However, on your first login you must open Profile → Groups, select your group, and fill in your electricity price information (spot-price or fixed price, transmission price, and electricity tax) before you can start charging. This information is what KotiCharge uses to calculate your reimbursement correctly.
How to find and fill in your electricity price information →5 Start a Charging Session
- The list of chargers and any active charging session are always visible under the "Charger" tab.
- Select your charger from the list.
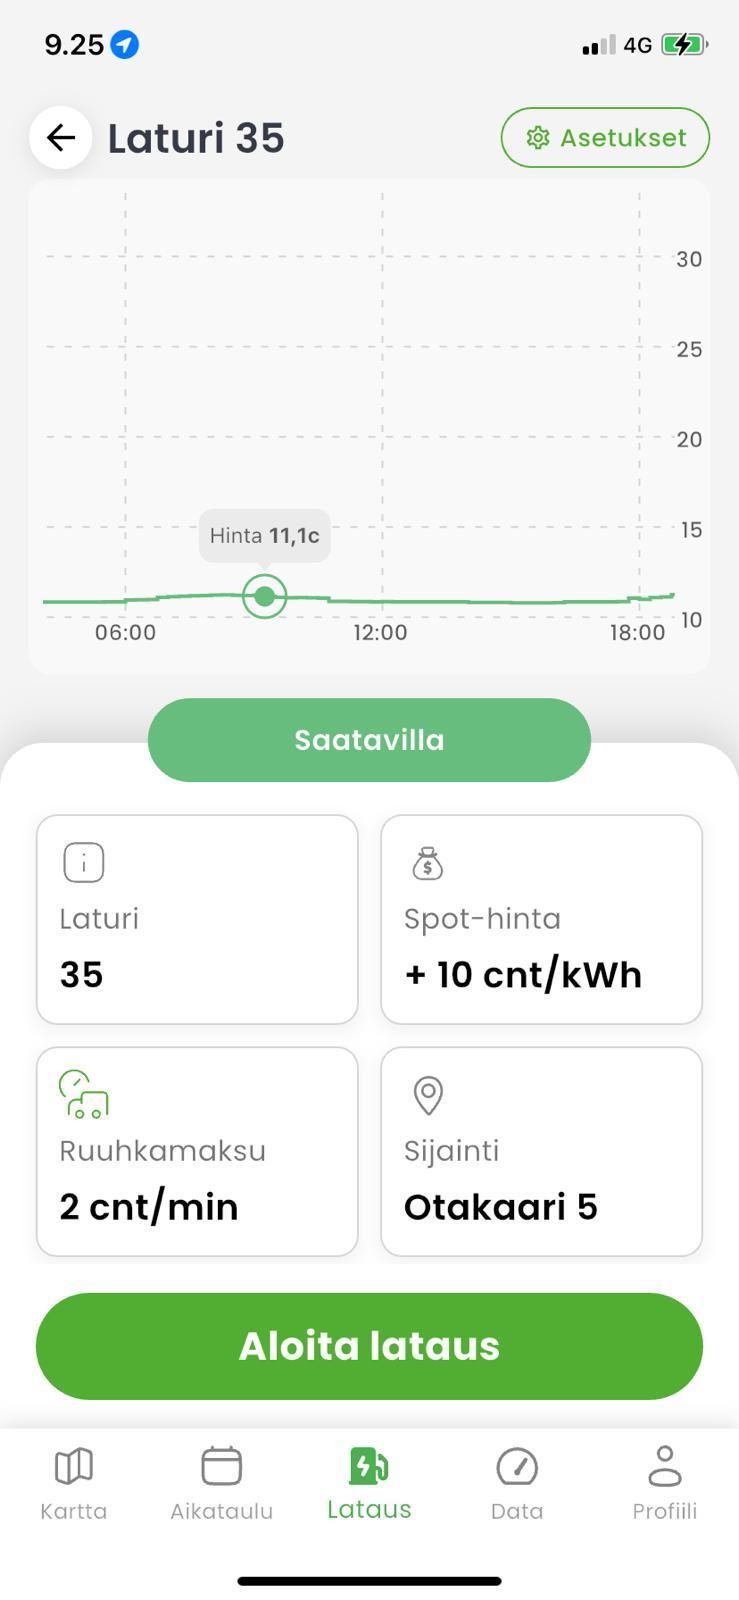
- Tap "Start charging" to begin immediately.
- Check that the charging cable is connected to both the car and the charger.
- Charger will change state to "Plugged" when the cable is plugged in.
- Make sure you have added a payment card to your account.
6 Charging Price
- If your location uses spot-price pricing, you can see the price fluctuate throughout the day in the chart. With a fixed price, there is no variation to show.
- If a congestion fee applies once your battery is full, it is shown in the bottom-left corner.
- If your location splits power (demand) fees between chargers, these cannot be shown in advance — see Power Fees below.
7 Set Charger to Private
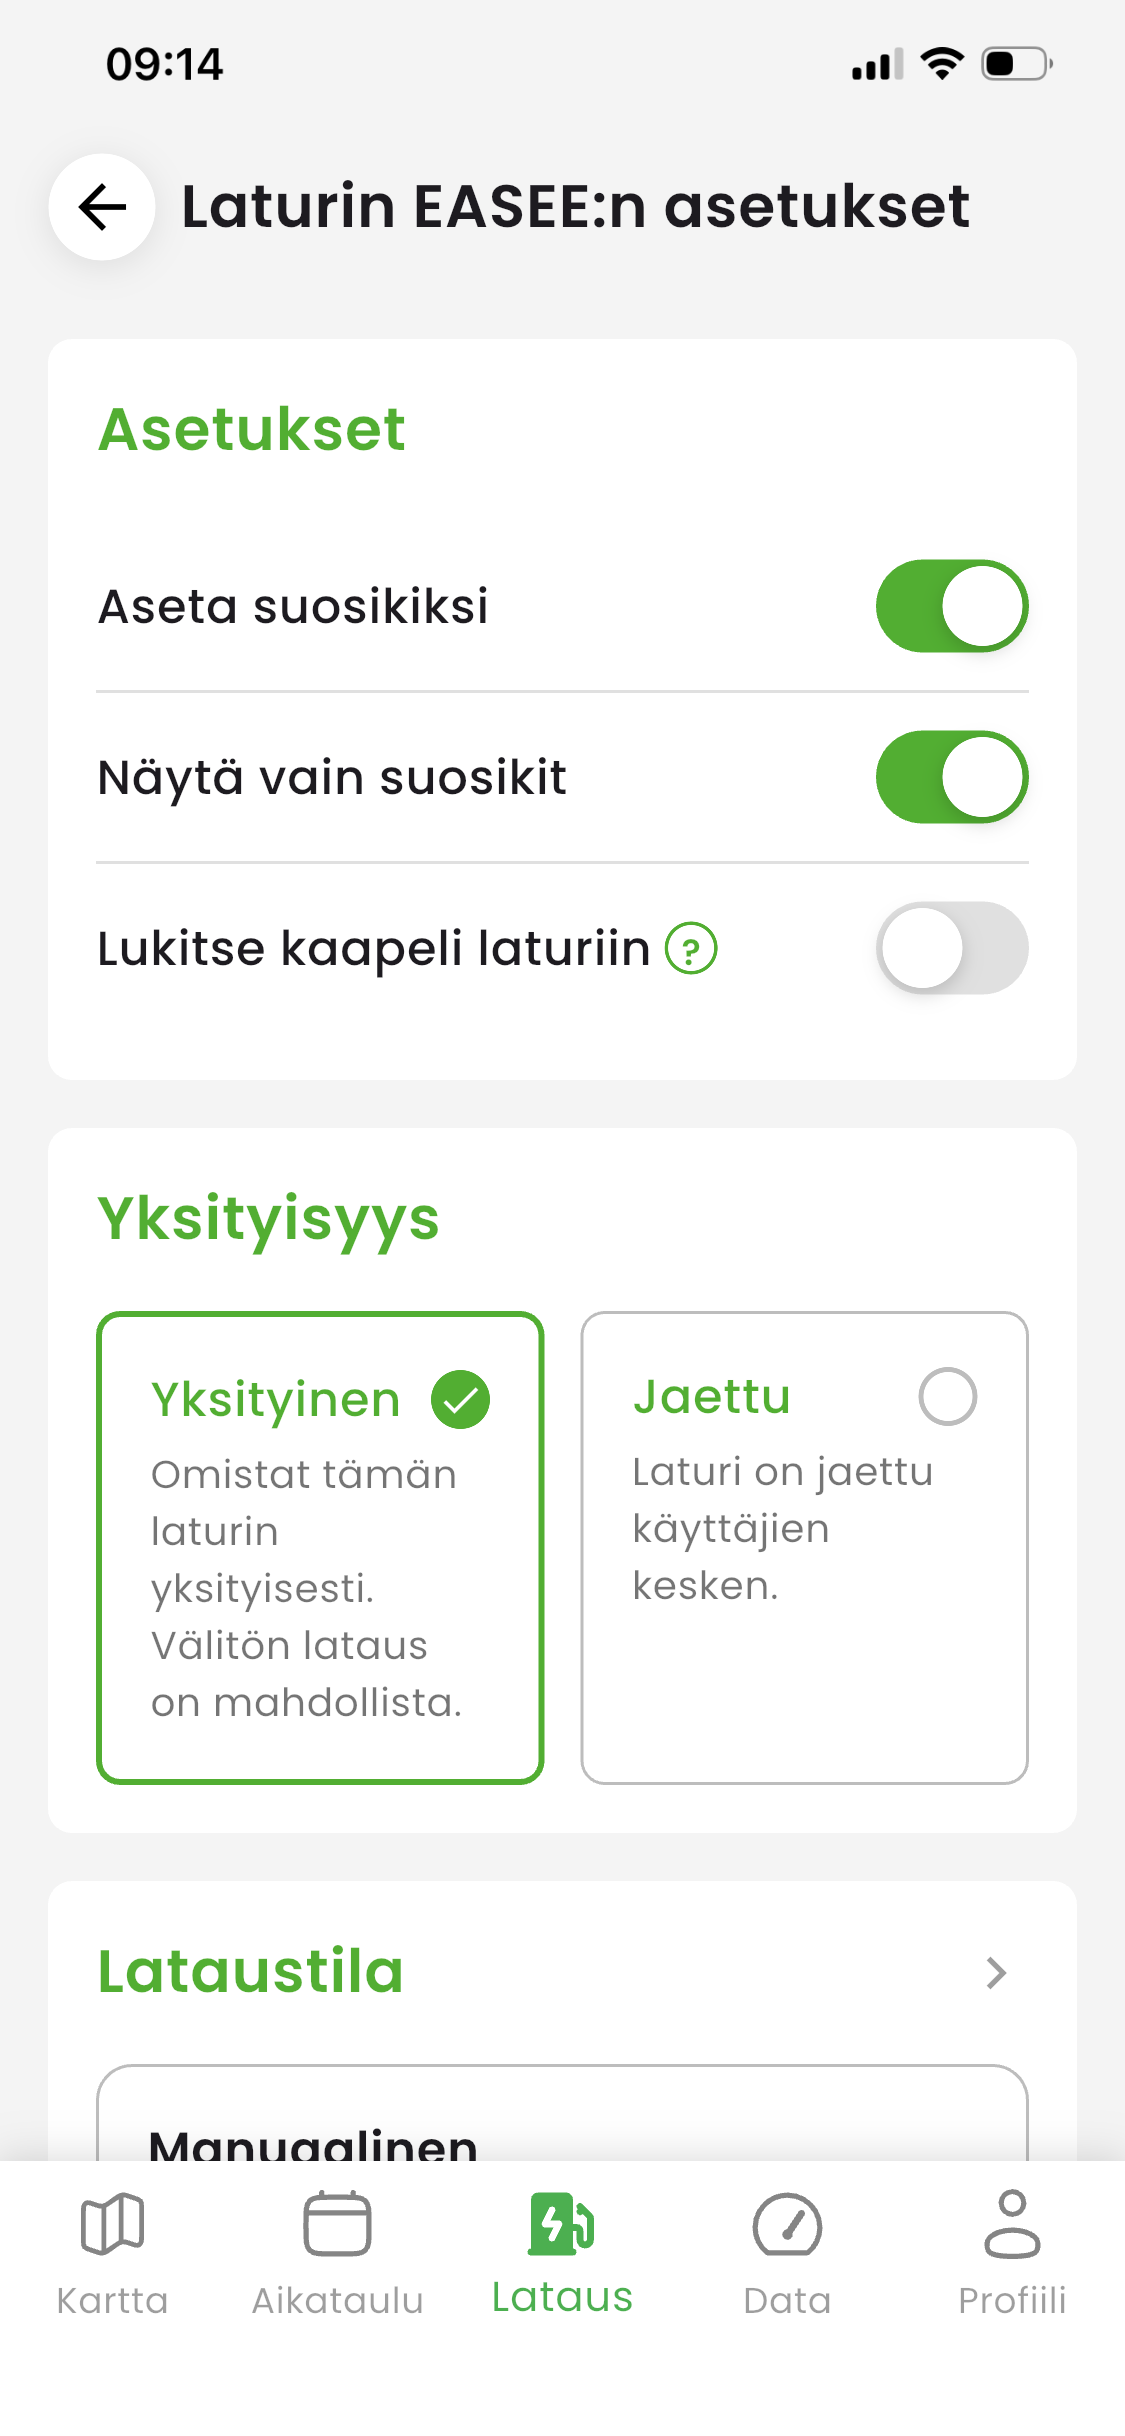
If you own the charger, you can set it as private to you. This unlocks several advanced features and controls.
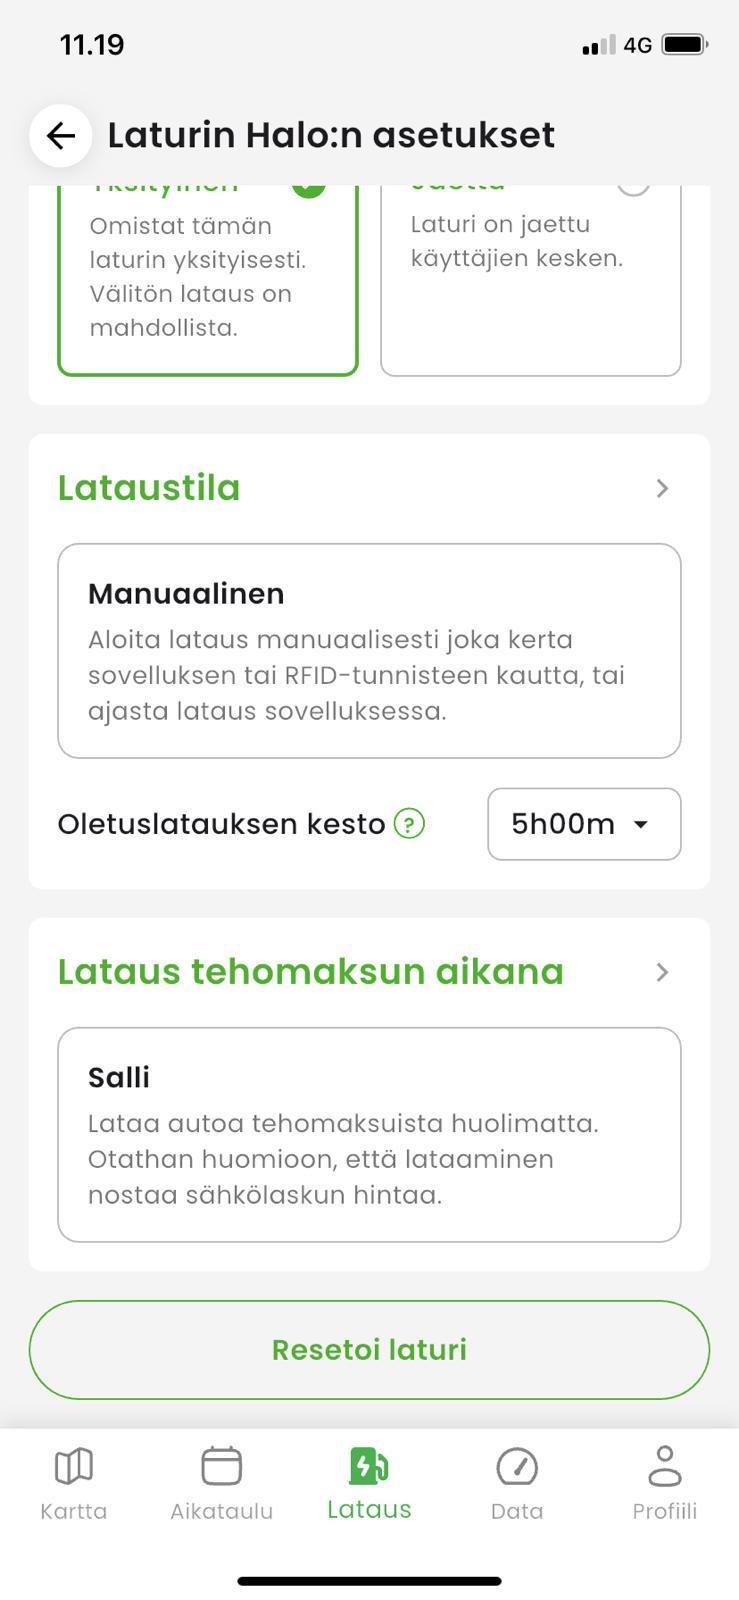
- Tap "Settings" on the charger's tab to access charger settings.
- Toggle the "Private to me" option to make the charger private to your account.
- Once the charger is set as private, you gain access to additional charging modes (see Step 8) and the ability to create recurring charging schedules (see Step 10).
Important: Only one person can have a charger set as private. If you want to change who the charger is private to, you'll need to remove the current private assignment first.
8 Charging Modes
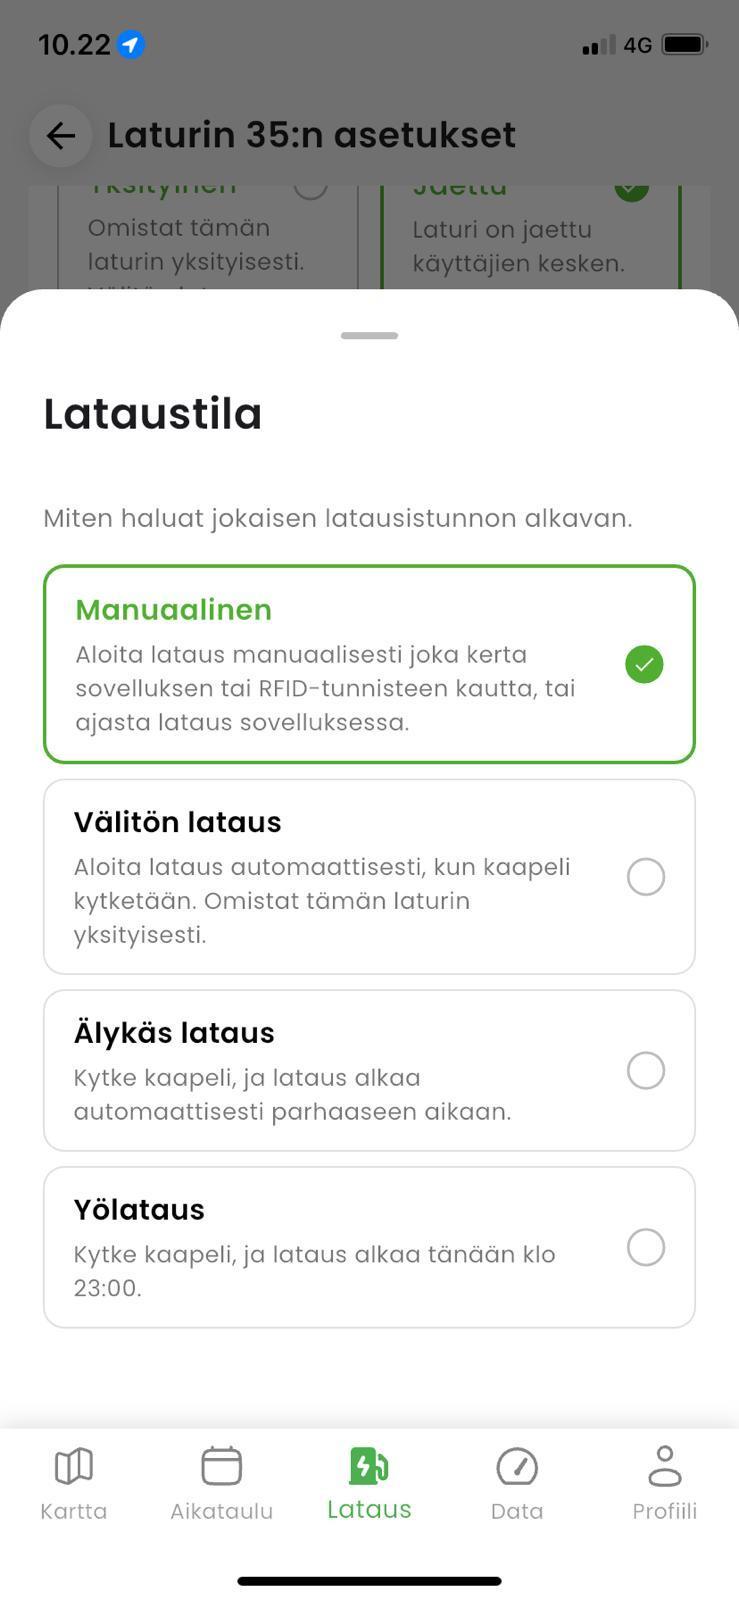
Choose how you want each session to start by tapping "Settings" on the charger's tab. Tap any option to see more details.
- Manual — start charging manually every time, via the app, an RFID tag, or a schedule.
- Instant charge — charging starts automatically as soon as the cable is plugged in.
- Smart charge — plug in the cable and charging starts automatically at the best time.
- Night charge — plug in the cable and charging starts automatically at 23:00.
Note: Charging modes other than "Manual" are designed for easy, automatic scheduling. For more advanced and customizable scheduling options, select "Manual" mode here and then create a recurring schedule in Step 10.
9 One-Time Schedule
Plan a single, highly optimized charging session directly from the "Schedule" tab. One-time schedules are ideal for adjusting to variable daily routines.
Three scheduling options
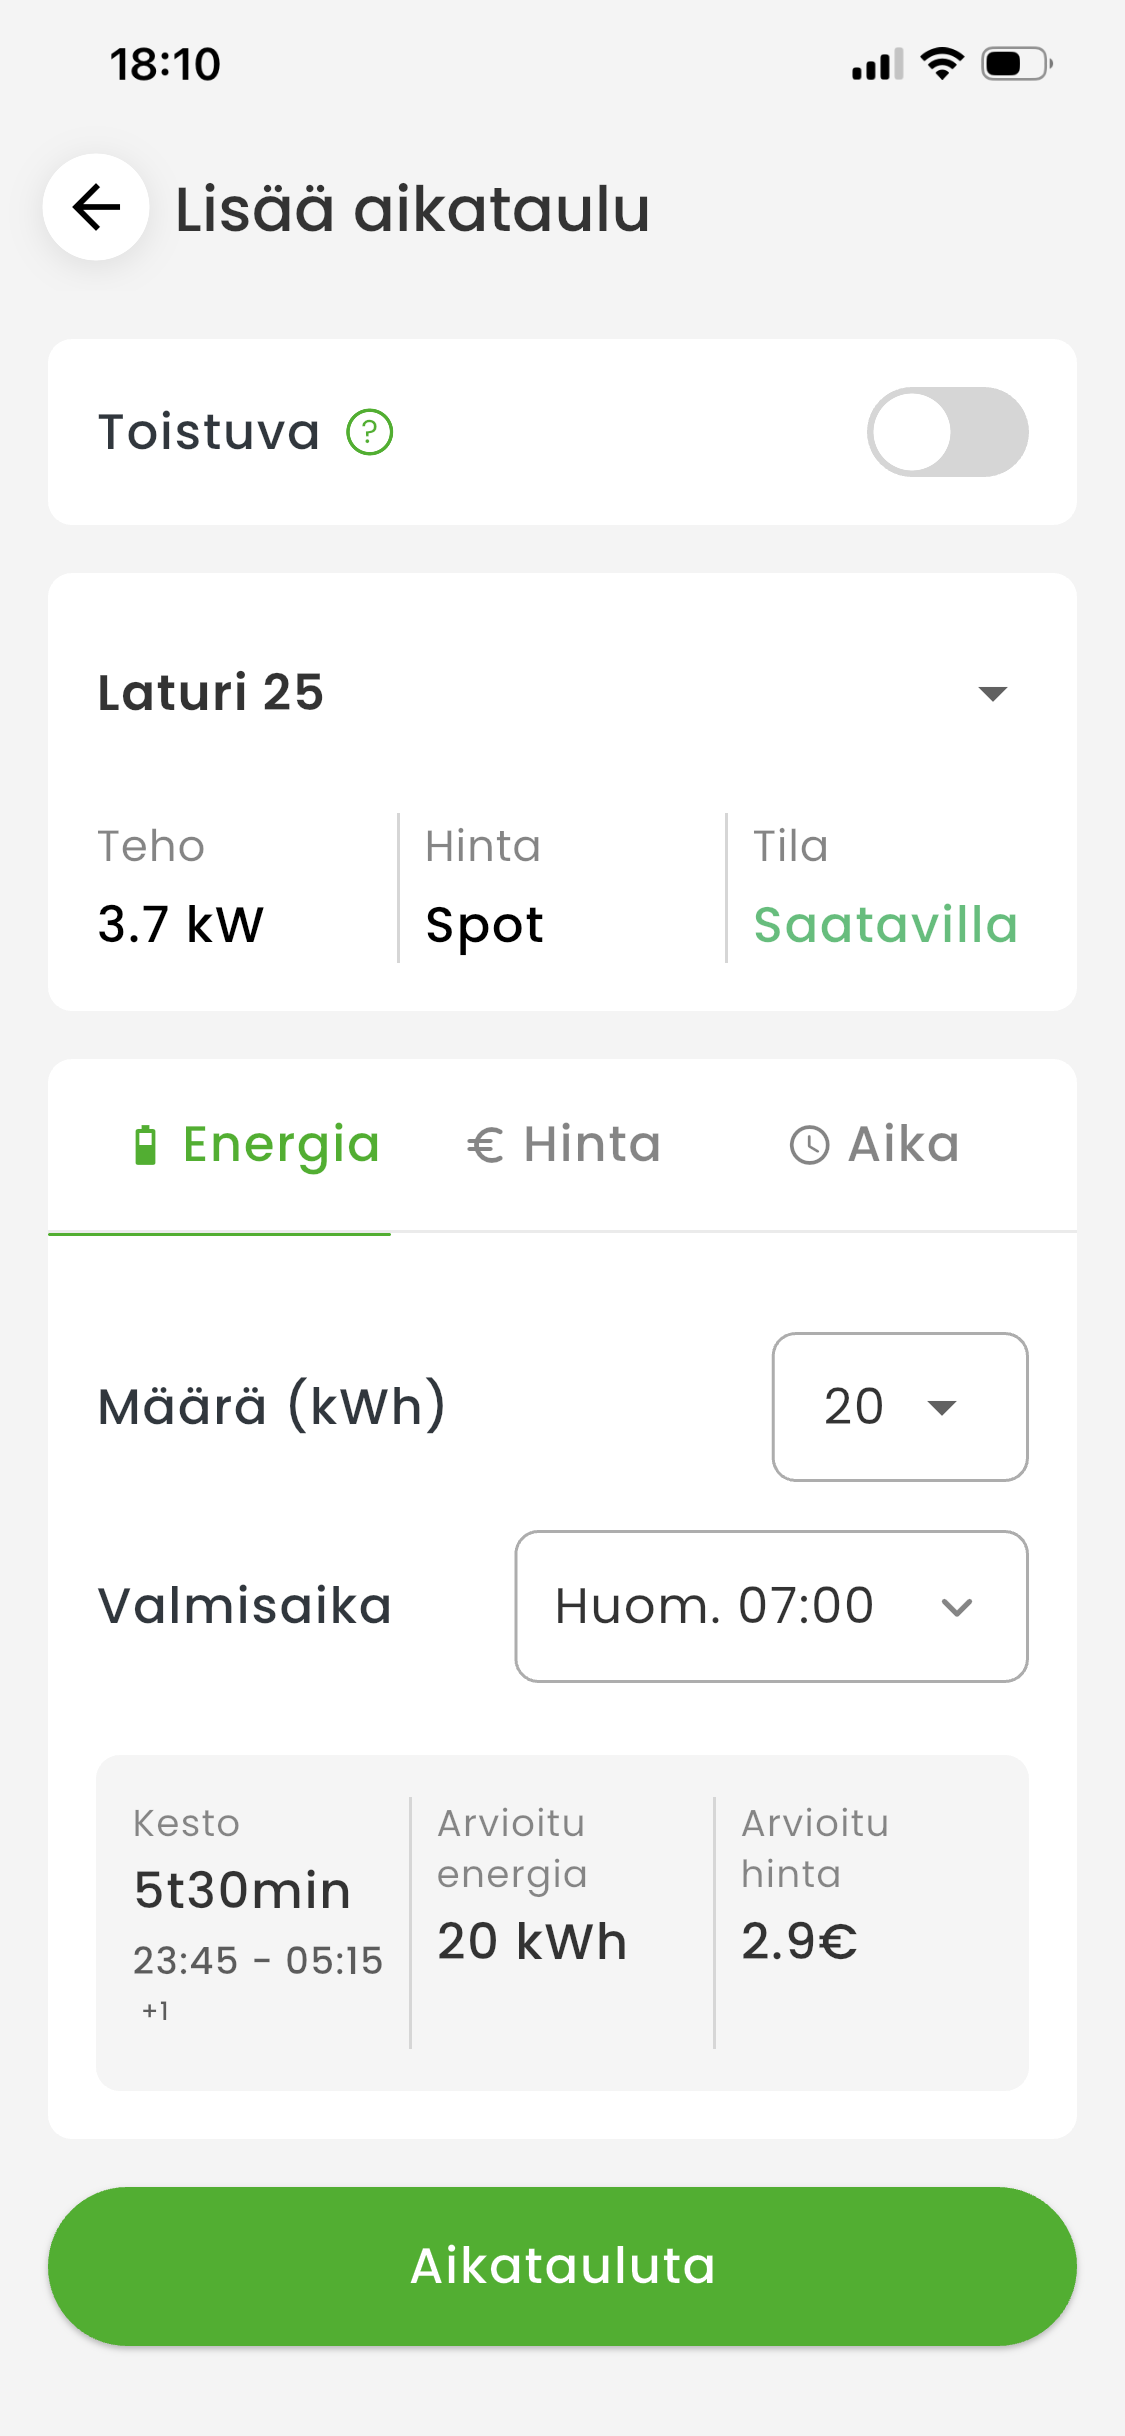
- 1. Energy-based scheduling Specify when you want your car to be ready (e.g., tomorrow at 07:00) and how much energy you need. KotiCharge automatically optimizes the charging window to capture the cheapest hours before your target time.
- 2. Price-based scheduling Specify the maximum price (cent/kWh) under which charging should automatically start. Charging begins when the price drops below your limit.
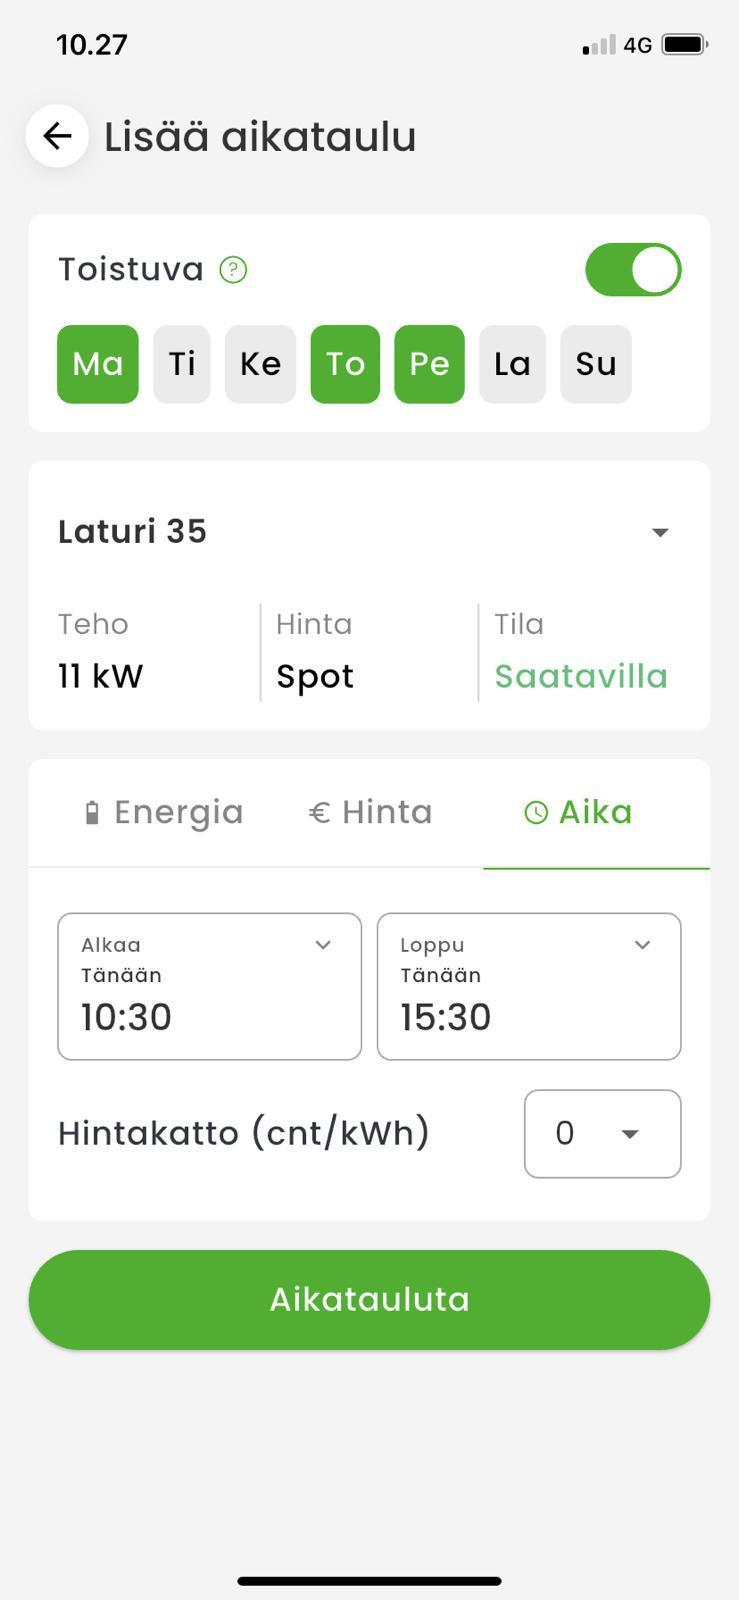
- 3. Time-based scheduling Specify exact start and end times for when charging should occur.
10 Recurring Schedule
Automate your weekly charging routine with recurring schedules. This is the most convenient way to charge at home without having to configure a new session every day.
To set this up, simply toggle on the "Recurring" switch in the app and select the days of the week when the schedule should run. Please note that recurring schedules require your charger to be set to Private to you (Step 7) and your charging mode set to Manual (Step 8).
Price ceiling
You can set an optional ceiling price (in cent/kWh) for your recurring plan. If the market rate on a given day exceeds your limit, KotiCharge temporarily pauses the schedule for that day and alerts you via a push notification.
Pro-Tip: Turn on notifications in your phone's settings for the KotiCharge app. Whenever you plug in the charging cable, you will receive an instant push notification confirming that a schedule has been successfully generated and applied for that session.
11 Power Fees (Tehomaksut)
- In some housing companies, KotiCharge splits power (demand) fees between the people charging.
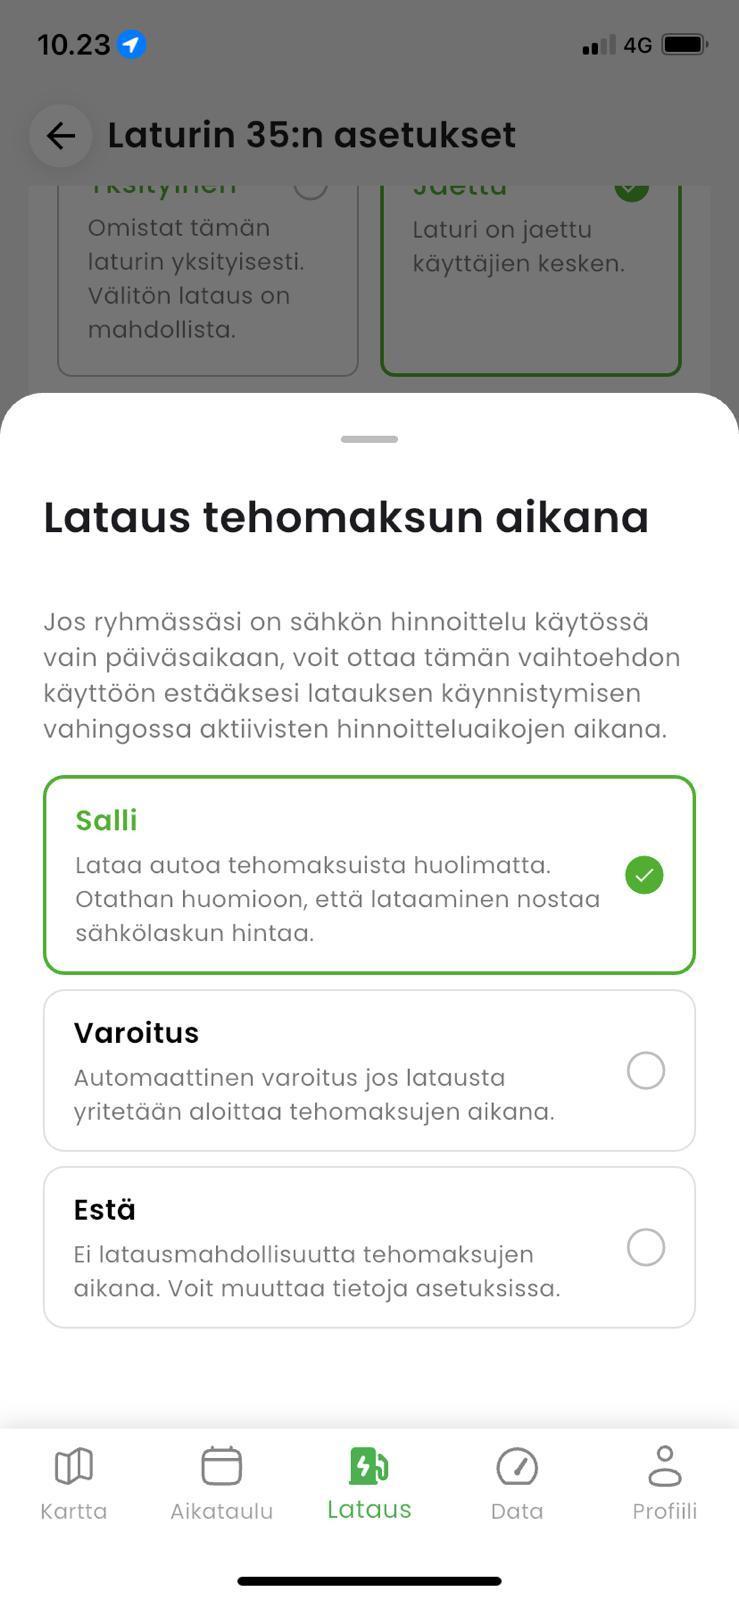
- In your charger's settings, you can set a warning or a block for charging during power-fee hours.
- This only applies in areas of grid operators (e.g. Helen) that bill power fees at a specific time of day.
- Power fees are charged together with your other charging sessions at the start of the following month.
- The fee amount is based on the highest power peak recorded during your charging sessions that month.
12 RFID Tag
- Instead of using the app, you can also authenticate at the charger with an RFID tag.
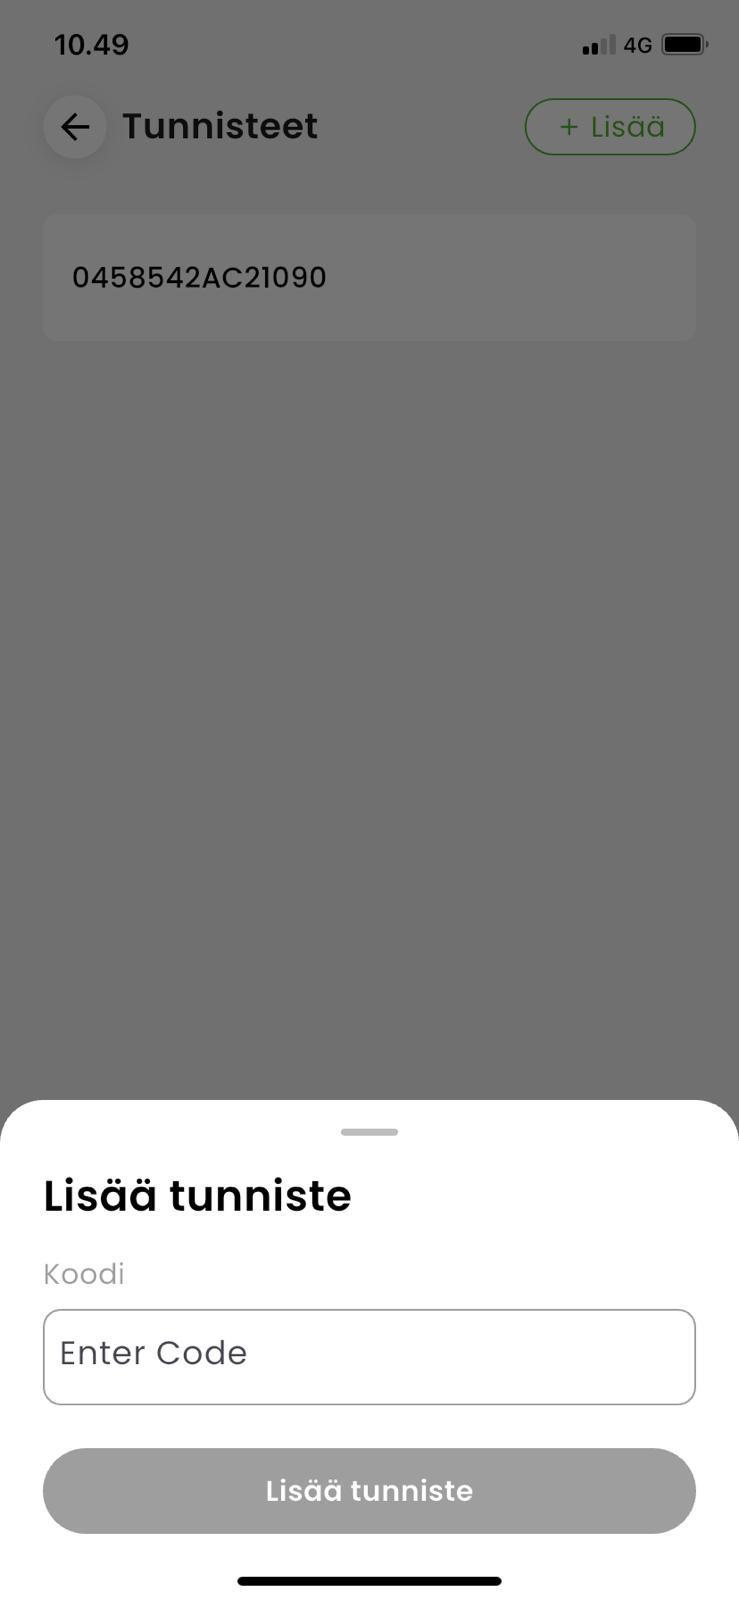
- Attach an RFID tag to your account from the "Profile" tab under "Tags".
- You can order additional RFID tags from KotiCharge if you need them.
Already have an RFID tag but don't know its code? Download a free NFC-reading app such as NFC Tools (iOS and Android), tap your tag with your phone to read its ID, then enter that code manually when adding the tag in the KotiCharge app.
13 Other Settings
- You can optionally link your car's registration plate to the app. Choose "Vehicles" from the Profile tab.
- If you need a charging report for a company car or employee reimbursement, contact us.
- If you run into a problem with the charger, you can restart it remotely from the charger's settings if you are the owner of the charger.
- You can lock the cable to the charger from the charger's settings if you are the owner of the charger.