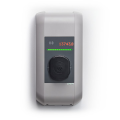
Connect Keba to KotiCharge
Follow these detailed instructions to configure your Keba charger for the KotiCharge network using its built-in web interface.
Before you begin
Ensure you have the following information (provided with the installation materials):
- Default SSID: The name of the Wi-Fi hotspot created by the charger (a series of numbers).
- Default Hotspot Password: The password for the charger's Wi-Fi.
- WebUI Username and Password: Required to access the charger's settings.
You will also need to know the WLAN Hotspot IP address, which is included in the device information.
Connect to the Hotspot
Connect your computer or phone to the Wi-Fi network created by the charger using the credentials provided with your device.
Open your web browser and enter the WLAN Hotspot IP address into the address bar.
Log in
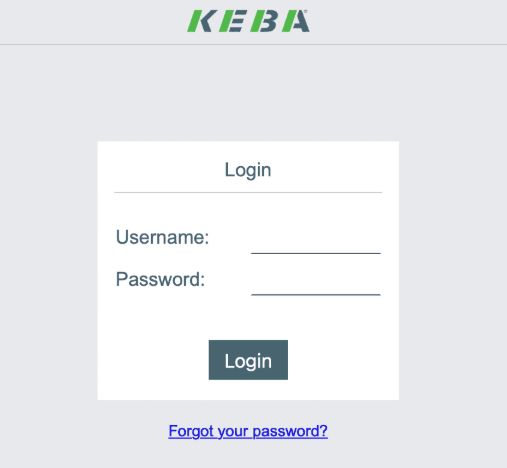
Enter the WebUI username and password you received with the device to log in to the management interface.
Configure Network Connection
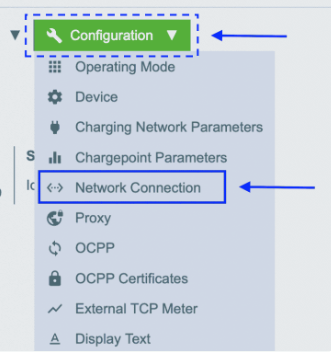
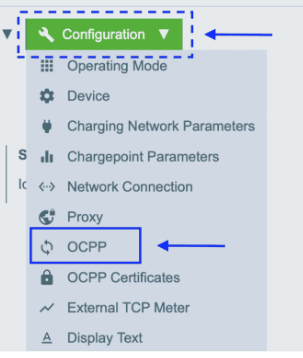
Hover your mouse over the Configuration menu and select Network Connection.
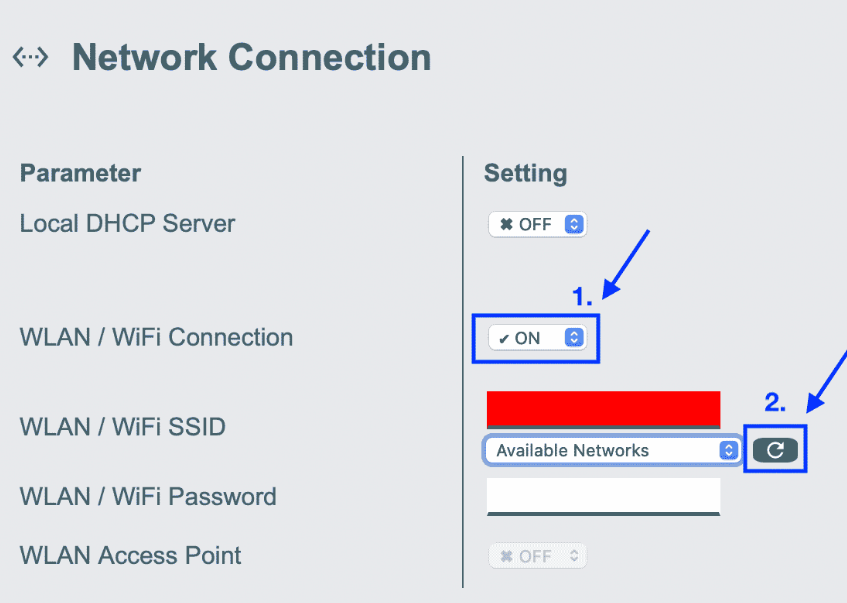
Modify the network settings as follows:
- Change the WLAN/WIFI setting to ON.
- Press the search button next to "Available networks".
- Select your local internet network from the list and enter the password.
Set OCPP URL
Return to the Configuration menu and this time select OCPP.
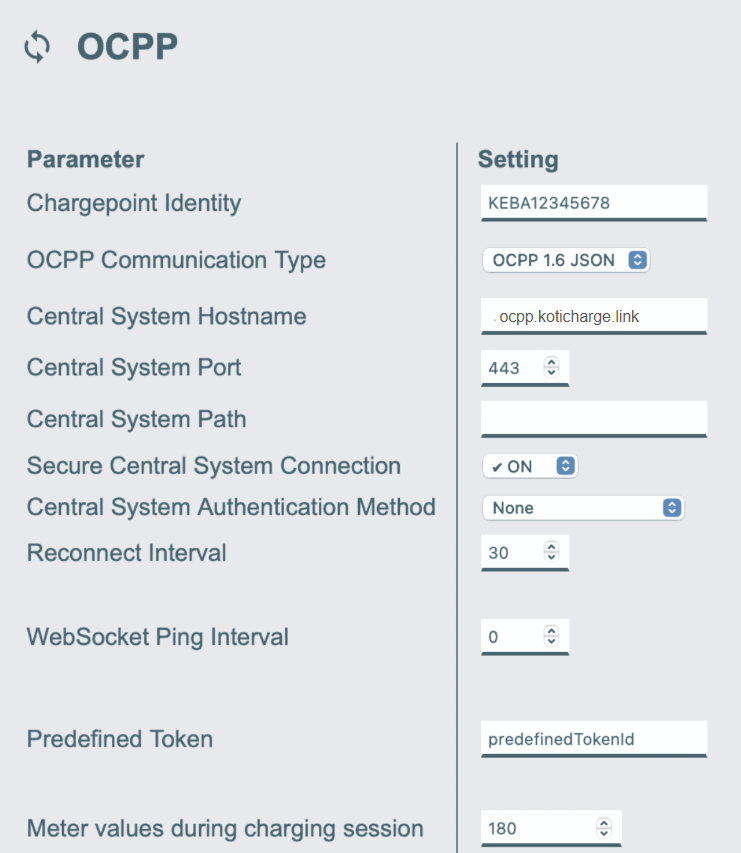
Ensure the settings exactly match these values:
- OCPP Communication type: 1.6 JSON
- Central System Hostname:
ocpp.koticharge.link - Central System Port:
443 - Secure Central System Connection: ON
Write down the "Chargepoint Identity" number shown on this screen, you will need to provide this to KotiCharge.
Save the changes.
Check under the Status section that the device is connected to the OCPP server. Restart the charging device if necessary.

Call KotiCharge for Testing
Call KotiCharge to inform us of your charger's ID so we can activate it in our system and perform a charging test.
Charger setup is only complete once the charging test has been performed successfully. Please do not leave the site before that.