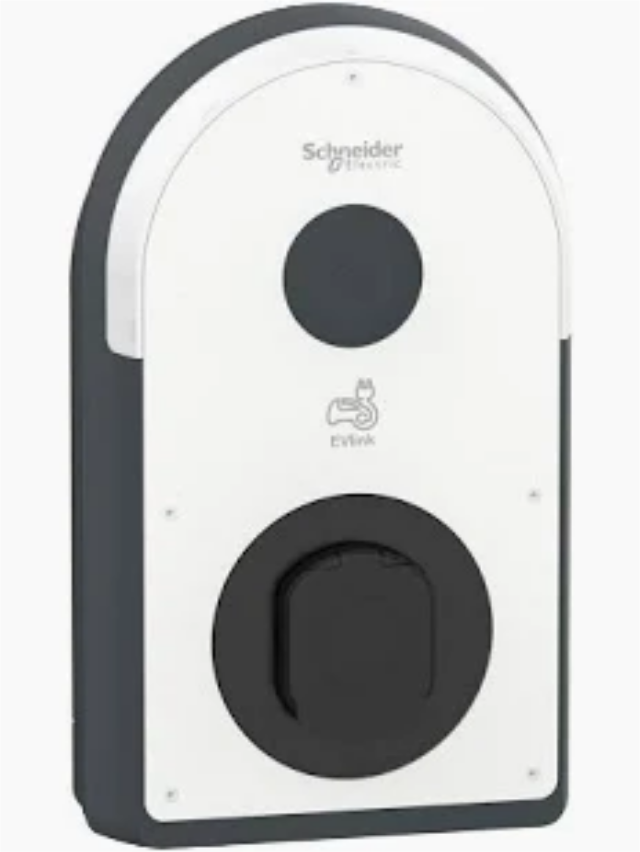
Connect Schneider to KotiCharge
Follow these detailed instructions to configure your Schneider EVlink Pro AC charger for the KotiCharge network using its built-in web interface.
Configuring the charge point
Scan the QR code on your charge point, which will direct you to the documentation for Schneider charging box installation.
Locate the instruction sheet titled EVlink Smart Wallbox - EVB1A22P - Installation guide. Follow the steps there to complete the basic configuration of your charge point.
Connect via Ethernet
Connect your computer to the charge point using an Ethernet cable.
After you have connected your computer, you must set the static IP address properties on your computer's network adapter to match the charger's subnet.
Log in to WebUI
Open your web browser and enter the IP address into the address bar: 192.168.0.102
Log on with the following default credentials:
- User name: admin
- Password: ADMIN
Set Supervision URL
Once logged in, click on the "Supervision" tab.
- Paste the KotiCharge server address into the "Supervision URL" field:
wss://ocpp.koticharge.link/ - Insert the serial number of your charge point into the "Charging station ID" field.
Ensure internet connection and reboot
Make sure your charge point has an active internet connection. Reboot your charge point, wait 30 seconds, and refresh your browser window to verify the settings were saved.
Call KotiCharge for Testing
Call KotiCharge to inform us of your charger's ID so we can activate it in our system and perform a charging test.
Charger setup is only complete once the charging test has been performed successfully. Please do not leave the site before that.